Dark Chocolate-Dipped Strawberries

0

Dark Chocolate-Dipped Strawberries: Decadence Meets Delight

Indulgence takes a healthier turn with our Dark Chocolate-Dipped Strawberries. Fresh, plump strawberries become a canvas for the deep, rich flavors of dark chocolate. This delightful treat offers a perfect balance of sweetness and bitterness, all in one bite. Whether you’re satisfying your sweet tooth or impressing guests, these exquisite strawberries, adorned with a variety of delectable toppings, are an elegant and guilt-free dessert. Enjoy the ultimate chocolate-covered strawberry experience without the worry of excess calories.

  • 1 pound fresh strawberries, rinsed and dried
  • 6 ounces dark chocolate (70% cocoa or higher)
  • 1 teaspoon coconut oil (optional)
  • Toppings of your choice (chopped nuts, shredded coconut, or sea salt)
  • Parchment paper

Instructions:

  1. Prepare a Baking Sheet:
    • Line a baking sheet with parchment paper. This will prevent the dipped strawberries from sticking.
  2. Melt the Dark Chocolate:
    • In a microwave-safe bowl or using a double boiler, melt the dark chocolate. If you find the chocolate too thick, you can add a teaspoon of coconut oil to help with the dipping consistency.
  3. Dip the Strawberries:
    • Holding a strawberry by the stem, dip it into the melted chocolate, swirling to coat about two-thirds of the strawberry. Let any excess chocolate drip back into the bowl.
  4. Add Toppings:
    • While the chocolate is still wet, sprinkle your choice of toppings over the dipped part of the strawberry. Chopped nuts, shredded coconut, or a pinch of sea salt all work beautifully.
  5. Place on Parchment Paper:
    • Set the dipped strawberry on the parchment-lined baking sheet.
  6. Repeat:
    • Repeat the dipping and topping process for the remaining strawberries.
  7. Chill:
    • Place the baking sheet in the refrigerator to allow the chocolate to harden for about 30 minutes.
  8. Serve:
    • Once the chocolate is set, serve your dark chocolate-dipped strawberries. They are best when enjoyed on the same day.

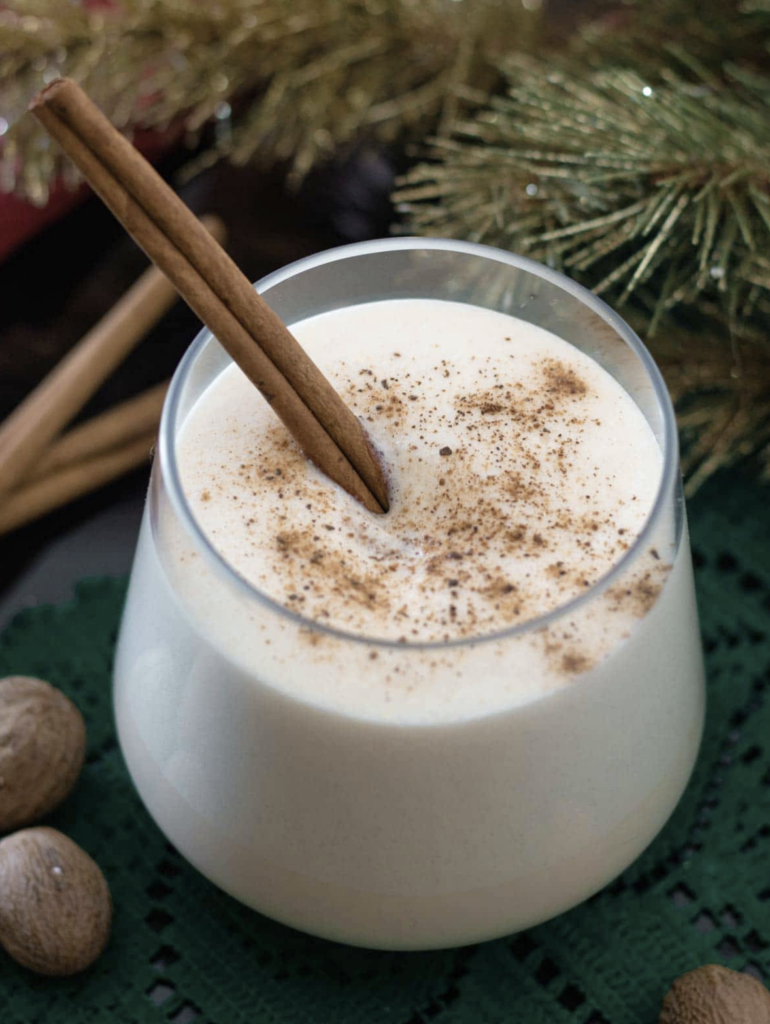
Light Eggnog

0

Light Eggnog: A Healthier Take on a Classic Favorite

Eggnog, a beloved holiday tradition, gets a lighter and more health-conscious makeover in our Light Eggnog recipe. We’ve trimmed down the fat and calories while preserving the rich, creamy goodness that makes eggnog a seasonal favorite. This version combines the warmth of nutmeg, cinnamon, and allspice with the comfort of vanilla and a hint of cloves. The result is a guilt-free indulgence that lets you savor the flavors of the season without overindulging. So go ahead, raise a glass to a lighter, yet still delicious, holiday celebration!

Ingredients:

  • 4 large egg yolks
  • 1/3 cup granulated sugar
  • 2 cups skim milk
  • 1/2 cup evaporated skim milk
  • 1/2 cup fat-free half-and-half
  • 1 teaspoon pure vanilla extract
  • 1/2 teaspoon ground nutmeg
  • 1/4 teaspoon ground cinnamon
  • 1/4 teaspoon ground allspice
  • 1/4 teaspoon ground cloves
  • 1/8 teaspoon salt
  • 4 large egg whites
  • Ground cinnamon and nutmeg for garnish

Instructions:

  1. Whisk the Egg Yolks and Sugar:
    • In a mixing bowl, whisk together the egg yolks and granulated sugar until the mixture thickens and turns pale.
  2. Combine Milk and Spices:
    • In a separate saucepan, combine the skim milk, evaporated skim milk, fat-free half-and-half, vanilla extract, nutmeg, cinnamon, allspice, cloves, and salt. Heat the mixture over low heat until it’s warm but not boiling. Stir frequently.
  3. Temper the Eggs:
    • Slowly pour the warm milk mixture into the egg yolk mixture, whisking constantly to prevent curdling. This process is called tempering.
  4. Return to Heat:
    • Pour the combined mixture back into the saucepan.
  5. Heat and Thicken:
    • Cook the mixture over low heat, stirring constantly, until it thickens slightly. This should take about 8-10 minutes.
  6. Cool:
    • Remove the mixture from the heat and allow it to cool to room temperature. Then, refrigerate it until it’s well chilled.
  7. Whip the Egg Whites:
    • In a separate mixing bowl, beat the egg whites until they form stiff peaks.
  8. Fold in Egg Whites:
    • Gently fold the whipped egg whites into the chilled eggnog mixture.
  9. Serve:
    • Pour the light eggnog into glasses and garnish with a sprinkle of ground cinnamon and nutmeg.

Fruit Salad with a Zesty Twist

0

Fruit Salad with a Zesty Twist: Nature’s Candy in a Bowl

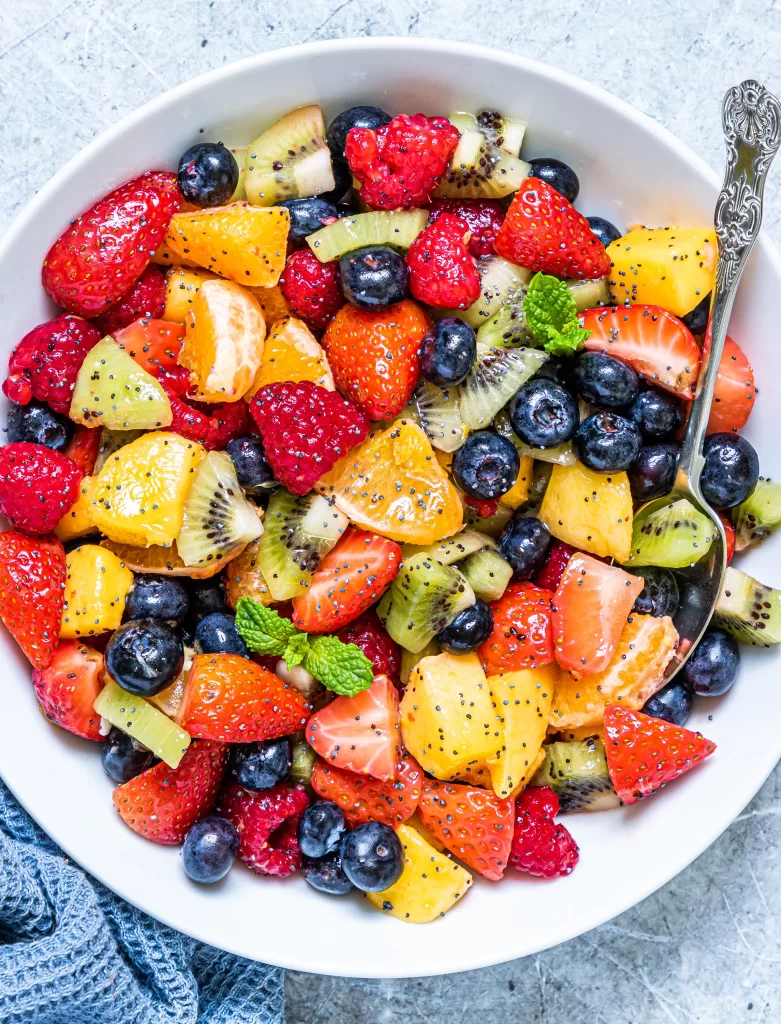
This Fruit Salad is a vibrant celebration of nature’s candy. Fresh pineapple, strawberries, blueberries, raspberries, and citrusy orange segments come together for a colorful, healthful delight. What sets this salad apart is the zesty twist – a dressing made of honey, lime zest, and lime juice that awakens the palate with a burst of flavor. Every bite is a refreshing journey through a medley of textures and tastes. Whether as a dessert, side dish, or standalone snack, this fruit salad brings joy to your taste buds and vitality to your day.

Ingredients:

  • 2 cups fresh pineapple chunks
  • 1 cup fresh strawberries, hulled and halved
  • 1 cup fresh blueberries
  • 1 cup fresh raspberries
  • 2 oranges, peeled and segmented
  • 2 tablespoons honey
  • 1 lime, zested and juiced
  • Fresh mint leaves for garnish (optional)

Instructions:

  1. Prepare the Fruits:
    • In a large mixing bowl, combine the pineapple chunks, strawberries, blueberries, raspberries, and orange segments. Gently toss to mix the fruits evenly.
  2. Prepare the Zesty Dressing:
    • In a separate small bowl, whisk together the honey, lime zest, and lime juice until well combined.
  3. Drizzle and Toss:
    • Drizzle the zesty dressing over the mixed fruits.
  4. Gently Toss:
    • Gently toss the fruits to coat them evenly with the zesty dressing.
  5. Chill:
    • Cover the bowl and refrigerate the fruit salad for at least 30 minutes before serving. This allows the flavors to meld and the salad to become refreshingly cool.
  6. Garnish:
    • Just before serving, garnish the fruit salad with fresh mint leaves if desired.

Baked Sweet Potatoes

0

Baked Sweet Potatoes: A Simple and Nutritious Side Dish

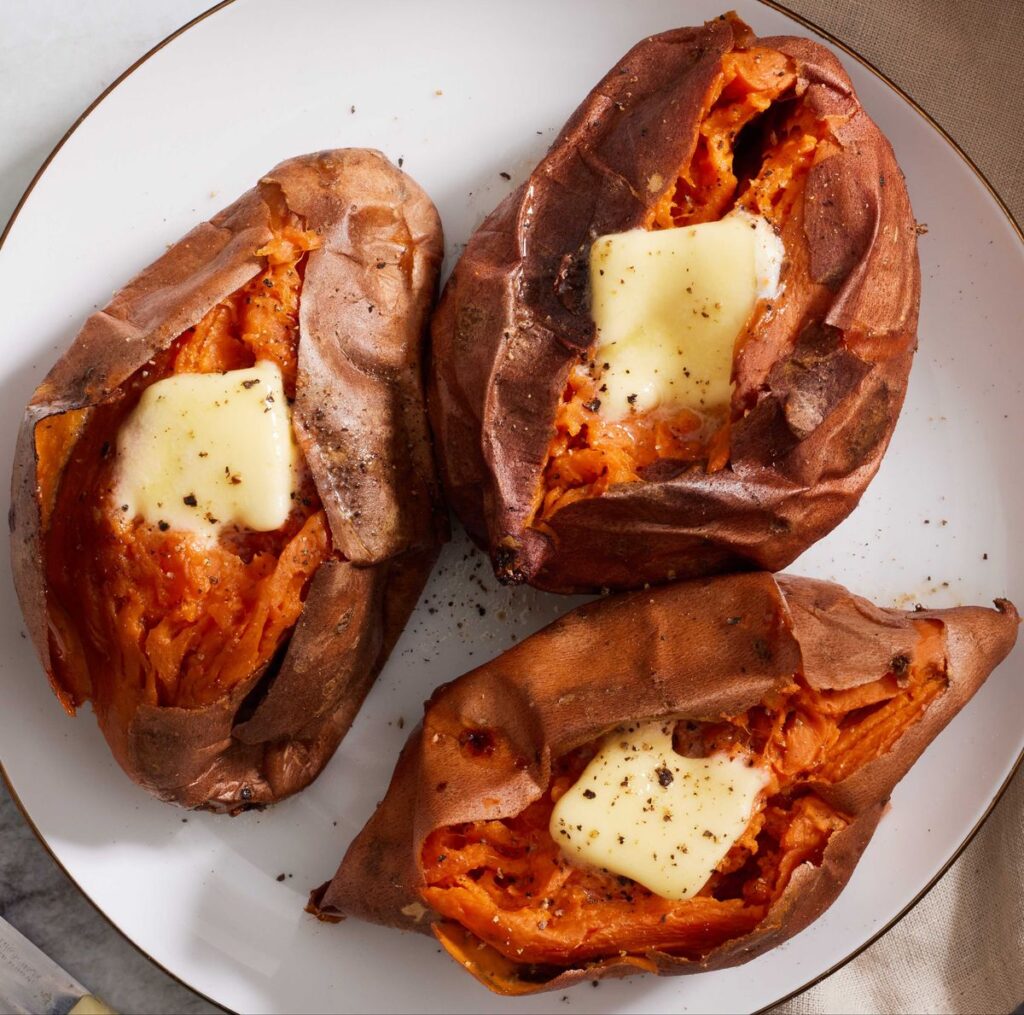
Baked Sweet Potatoes are the epitome of simple, satisfying, and nutritious eating. With just a touch of olive oil and a sprinkle of seasonings, these sweet potatoes transform into a heavenly dish that’s both comforting and wholesome. As they bake, their natural sugars caramelize, creating a delectable contrast to the tender, orange flesh within. A dusting of fresh parsley adds a vibrant finish. Serve them as a side or enjoy them as a light meal on their own. These baked sweet potatoes are a testament to the beauty of uncomplicated, real food.

Ingredients:

  • 4 medium-sized sweet potatoes
  • 2 tablespoons olive oil
  • 1 teaspoon salt
  • 1/2 teaspoon black pepper
  • 1/2 teaspoon paprika (optional for extra flavor)
  • 2 tablespoons fresh parsley, chopped (for garnish)

Instructions:

  1. Preheat the Oven:
    • Preheat your oven to 400°F (200°C).
  2. Prepare the Sweet Potatoes:
    • Wash and scrub the sweet potatoes to remove any dirt.
    • Pat them dry with a clean kitchen towel.
  3. Coat with Olive Oil and Seasoning:
    • Place the sweet potatoes on a baking sheet.
    • Drizzle olive oil over each sweet potato and use your hands to rub it evenly to coat.
    • Season the sweet potatoes with salt, black pepper, and paprika (if using). Ensure they are evenly covered.
  4. Pierce the Sweet Potatoes:
    • Use a fork to pierce each sweet potato a few times. This allows steam to escape while baking.
  5. Bake:
    • Place the baking sheet in the preheated oven.
    • Bake for approximately 45-60 minutes, or until the sweet potatoes are tender and can be easily pierced with a fork.
  6. Serve:
    • Remove the baked sweet potatoes from the oven and let them cool for a few minutes.
    • Garnish with chopped fresh parsley.
    • Slice them open, fluff the flesh with a fork, and serve.

Lighter Gravy

1

Lighter Gravy: Flavorful and Healthier

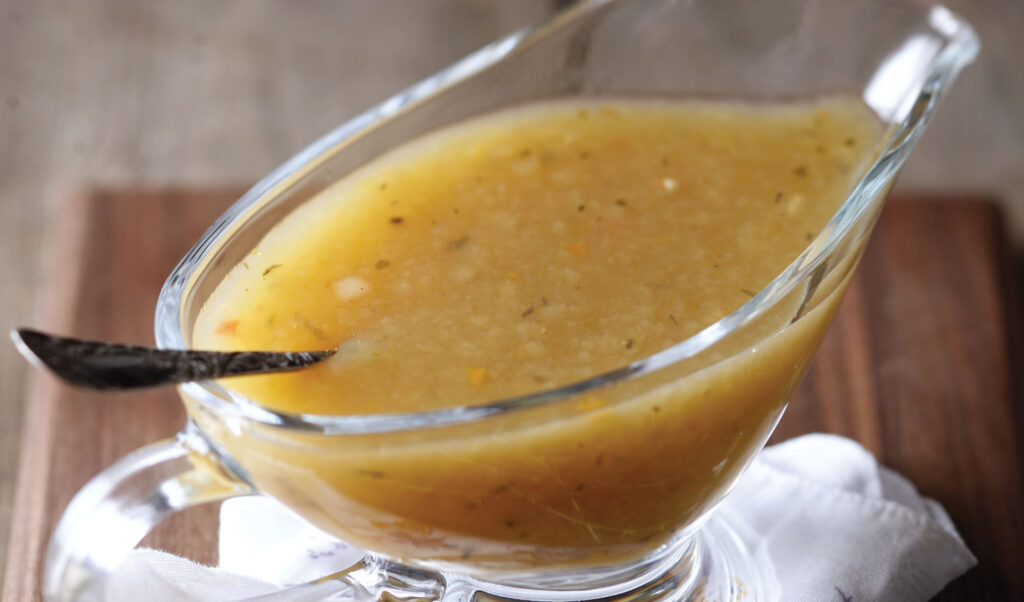
When it comes to holiday feasts, a rich and savory gravy is a must. But who says it has to be laden with excess fat and calories? Our Lighter Gravy recipe offers all the flavor you crave with a healthier twist. With a base of low-sodium broth and a clever cornstarch slurry, it achieves that perfect, silky consistency you love. SautĂ©ed onions and a hint of garlic provide depth, while a touch of olive oil keeps it light. Drizzle this delightful creation over your holiday dishes guilt-free, knowing that you’re savoring the best of both worlds – flavor and health.

Ingredients:

  • 2 cups low-sodium vegetable or turkey broth
  • 2 tablespoons cornstarch
  • 2 tablespoons water
  • 1 small onion, finely chopped
  • 1-2 cloves garlic, minced
  • 1 teaspoon olive oil
  • Salt and pepper to taste

Instructions:

  1. Sauté the Onion and Garlic:
    • In a small saucepan, heat the olive oil over medium heat.
    • Add the finely chopped onion and minced garlic.
    • SautĂ© for about 2-3 minutes, or until the onion becomes translucent and slightly caramelized.
  2. Make the Cornstarch Slurry:
    • In a separate bowl, whisk together the cornstarch and water to create a smooth slurry. Ensure there are no lumps.
  3. Combine Ingredients:
    • Pour the low-sodium vegetable or turkey broth into the saucepan with the sautĂ©ed onion and garlic.
    • Stir well to combine.
  4. Add the Cornstarch Slurry:
    • Slowly pour the cornstarch slurry into the saucepan while continuously stirring. This will help thicken the gravy.
  5. Simmer and Thicken:
    • Bring the mixture to a simmer over medium heat.
    • Continue to simmer for about 5-7 minutes, or until the gravy thickens to your desired consistency. Stir frequently to avoid lumps.
  6. Season:
    • Season the gravy with salt and pepper to taste. Adjust the seasonings to your preference.
  7. Strain (Optional):
    • If you want a smoother texture, you can strain the gravy through a fine mesh strainer to remove any remaining bits of onion or garlic.
  8. Serve:
    • Pour the lightened-up gravy into a serving dish.
    • Serve hot alongside your holiday turkey, mashed potatoes, or other dishes.

This lighter gravy recipe reduces the need for excess fat and maintains the rich flavor of traditional gravy. It’s a great choice for those looking to enjoy the classic taste without the extra calories. Enjoy your holiday meal with this delicious and healthier gravy!

Cranberry Quinoa Salad

0

Cranberry Quinoa Salad: A Festive Flavor Explosion

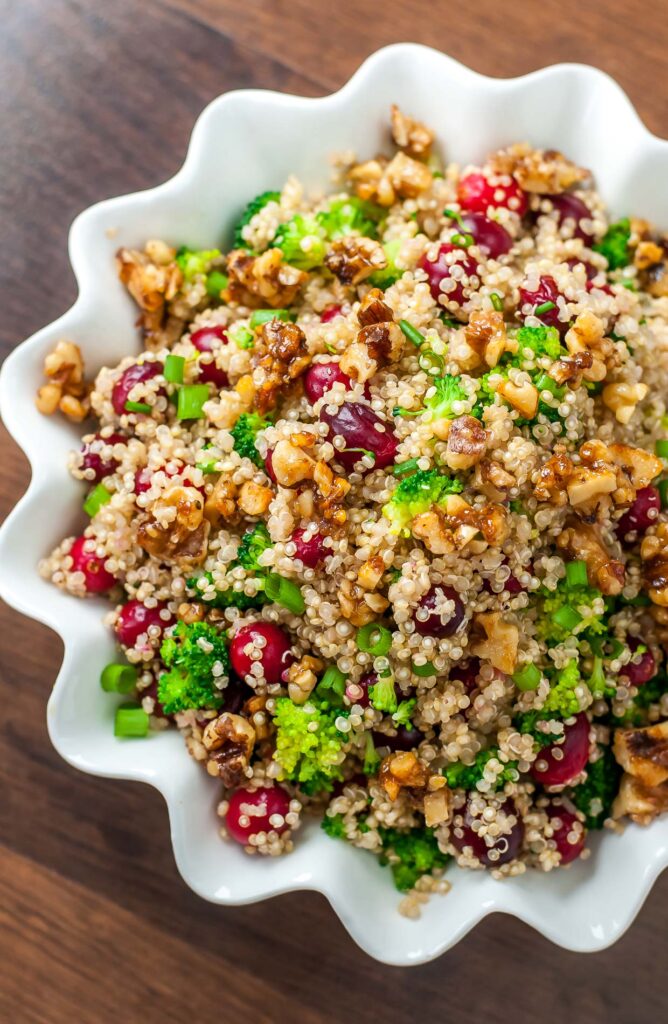
Tired of the same old holiday sides? Say hello to our Cranberry Quinoa Salad – a delightful blend of vibrant flavors and nutritious goodness. Nutty quinoa, chewy dried cranberries, and crunchy pecans create a medley of textures. Fresh parsley and green onions add a burst of color, while optional feta cheese provides a creamy contrast. All of this is brought together by a zesty balsamic dressing that elevates every bite. This salad isn’t just a side dish; it’s a star in its own right, perfect for the holiday table or a healthy standalone meal. Enjoy the holidays with a fresh twist on traditional flavors!

Ingredients:

For the Salad:

  • 1 cup quinoa, rinsed and drained
  • 2 cups water
  • 1/2 cup dried cranberries
  • 1/2 cup chopped pecans or walnuts
  • 1/4 cup finely chopped fresh parsley
  • 1/4 cup chopped green onions
  • 1/4 cup crumbled feta cheese (optional)
  • Salt and pepper to taste

For the Dressing:

  • 3 tablespoons extra-virgin olive oil
  • 2 tablespoons balsamic vinegar
  • 1 tablespoon honey (or maple syrup for a vegan option)
  • 1 teaspoon Dijon mustard
  • Salt and pepper to taste

Instructions:

1. Cook the Quinoa:

  • In a medium saucepan, combine the quinoa and water. Bring to a boil over high heat.
  • Reduce the heat to low, cover, and simmer for about 15-20 minutes, or until the quinoa is tender and the water is absorbed.
  • Remove from heat and let it cool to room temperature.

2. Prepare the Dressing:

  • In a small bowl, whisk together the extra-virgin olive oil, balsamic vinegar, honey (or maple syrup), Dijon mustard, salt, and pepper. Adjust the sweetness and seasoning to your preference.

3. Assemble the Salad:

  • In a large mixing bowl, combine the cooked and cooled quinoa, dried cranberries, chopped nuts, parsley, and green onions.

4. Add the Dressing:

  • Drizzle the dressing over the salad and toss to combine. Make sure the dressing is evenly distributed throughout the salad.

5. Garnish and Serve:

  • If desired, top the salad with crumbled feta cheese for a creamy and tangy touch.
  • Season the salad with salt and pepper to taste.
  • You can serve the salad immediately, but it’s often even better after the flavors have melded together in the refrigerator for a couple of hours.

6. Serve:

  • Serve the cranberry quinoa salad chilled as a delightful side dish at your holiday meal or as a light and healthy lunch option.

This Cranberry Quinoa Salad is a colorful and flavorful addition to your holiday spread. The combination of tart cranberries, nutty quinoa, and the sweetness of the dressing makes it a perfect balance of taste and nutrition. Enjoy!